2. How to make photocopy?
This section describes the basic flow of copy operations.
1. Place your originals.
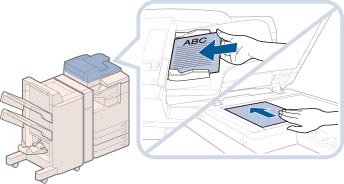
If the automatically selected paper size is different from the paper size you want, press [Select Paper] → select the required paper size. (See “Paper Selection.”)
|
NOTE
|
|
For instructions on placing your originals, see “Placing Originals.”
If [Auto Collate] is set to ‘On’, the Collate or Offset Collate mode is automatically set when you place your originals in the feeder. (See “Enabling Auto Collating.”)
|
2. Press [Copy].
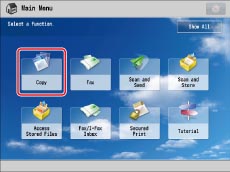
If the desired function is not displayed on the Main Menu screen, press [Show All].
3. Set the desired copy modes.
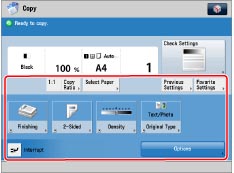
You can set the paper type and copy ratio on the Regular Copy Basic Features screen.
If you press [Options], you can select useful copy modes. You can also set combinations of copy modes.
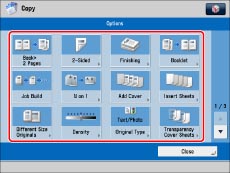
Press  or
or  to display the desired mode.
 or
or  to display the desired mode.
For more information on setting each mode, see the corresponding section.
4. Press  –
–  (numeric keys) to enter the desired copy quantity (1 to 999).
 –
–  (numeric keys) to enter the desired copy quantity (1 to 999).
If you make a mistake when entering values, press  (Clear)→ enter the correct value.
 (Clear)→ enter the correct value.
|
IMPORTANT
|
|
You cannot change the copy quantity while the machine is copying.
|
|
NOTE
|
|
The number of copies which can be set varies according to the copy modes you have set.
|
5. Press  (Start).
 (Start).
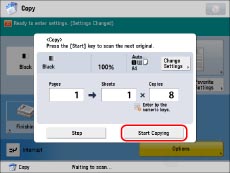
If the following screen is displayed, after the last batch of originals is scanned, press [Start Copying].
If you are placing your originals on the platen glass, press  (Start) to scan each original.
 (Start) to scan each original.
You can cancel the copy job or interrupt to make priority copies even while the machine is printing.

